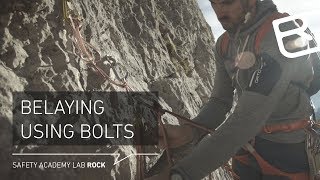
central point belay / distribution of load at the belay station – tutorial (21/43) | lab rock
Published 6 years ago • 7K plays • Length 2:37Download video MP4
Download video MP3
Similar videos
-
 1:45
1:45
fixed point belay at the belay station: advantages & disadvantages – tutorial (20/43) | lab rock
-
 3:55
3:55
guide to belaying: load distribution with two removable anchors – tutorial (17/43) | lab rock
-
 1:54
1:54
body belay at the belay station: advantages & disadvantages – tutorial (19/43) | lab rock
-
 3:30
3:30
belaying on several removable anchors: load distribution – tutorial (18/43) | lab rock
-
 3:51
3:51
guide to belaying: series connection with 2 bolts – tutorial (16/43) | lab rock
-
 4:51
4:51
rope team procedure: partner check, correct clipping & belay stations – tutorial (9/43) | lab rock
-
 19:59
19:59
how not 2 multipitch climb with doug robinson
-
 30:36
30:36
complete guide into belay devices - differences and efficient usage | ep.6
-
 3:41
3:41
6 ways to rappel like a pro using the figure 8 - canyoneeers' tech tuesday #2
-
 3:54
3:54
safe rappelling with tubes when alpine climbing – tutorial (28/43) | lab rock
-
 4:14
4:14
multi pitch belay station management
-
 4:52
4:52
rock climbing: how to belay
-
 5:00
5:00
climb safe: how to belay with the smart
-
 5:26
5:26
climb safe: how to belay with the atc
-
 3:39
3:39
how to belay
-
 0:50
0:50
#petzltips - rope management at the belay station
-
 0:10
0:10
bad lead climbing fall
-
 2:41
2:41
climb safe: partner check
-
 0:24
0:24
grigri slipping without pressing on the cam is not something i've seen before