eb-1485fi step 8- setting up the finger touch unit
Published 3 years ago • 6.2K plays • Length 1:31Download video MP4
Download video MP3
Similar videos
-
 3:19
3:19
eb-1485fi step 7 - finger touch unit installation requirements
-
 1:35
1:35
epson eb-1485fi projector installation guide #8 - setting up the touch unit
-
 1:49
1:49
eb-1485fi step 9 - calibrating the pens and finger touch unit
-
 3:23
3:23
epson eb-1485fi projector installation guide #1 - touch unit requirements
-
 1:26
1:26
how to connect your device eb-1485fi
-
 8:44
8:44
epson lcd projector | review cara pengendalian dan lihat hasilnya
-
 9:43
9:43
epson eb-695wi 超短焦互動觸控投影機 安裝操作說明
-
 3:23
3:23
엡손 초단초점 인터렉티브 프로젝터 eb-1480fi/1485fi/1486g 설치법!ㅣstep 1. 터치 장치 설치 준비하기
-
 1:08
1:08
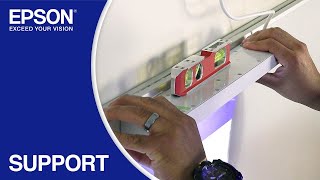
brightlink installation guide: part 9 | how to mount the interactive touch module
-
 2:02
2:02
eb-1485fi step 11- configuring a 16:6 display
-
 1:35
1:35
epson brightlink 1480fi/1485fi projector | #8 set up the touch unit
-
 1:12
1:12
eb-1485fi step 5- attaching the cables
-
 1:02
1:02
eb-1485fi step 4- attaching the mount arm
-
 1:53
1:53
epson brightlink 1480fi/1485fi projector | #9 calibrate the projector
-
 3:23
3:23
epson brightlink 1480fi/1485fi projector | #1 touch unit requirements
-
 2:06
2:06
epson brightlink 1485fi projector | #11 configure a 16:6 image
-
 2:17
2:17
eb-1485fi step 6- adjusting the image
-
 3:12
3:12
epson brightlink projectors | how to calibrate the finger touch feature
-
 1:41
1:41
epson brightlink pro 1430wi | powering and aligning the touch module
-
 1:38
1:38
eb-1485fi step 1- what's in the box
-
 1:55
1:55
dato naran singh sekolahkan rafizi
-
 2:10
2:10
epson brightlink 595wi | pen & touch calibration